Last year I brought you a complete translate gadget for your blog. This gadget displayed a selection of flags which when clicked translated your blogs text to the chosen language. I know for some this style of gadget took up a little too much space and while you do want to offer a translate option something more compact might better.
So I decided to list number of Translate Buttons you can use on your blog. With the translate button you offer the same translation options but via a compact button. However first I wanted to dedicate a full post to installing the Latest Google Translate button on your blog. Google translate is the most popular option but generating the code for the button requires a few steps.
So in one of my next posts I will list the best alternatives but for now lets focus on Google Translate Blog Button. Here are the steps to generate your button then I have the video tutorials to add it to Blogger or WordPress.
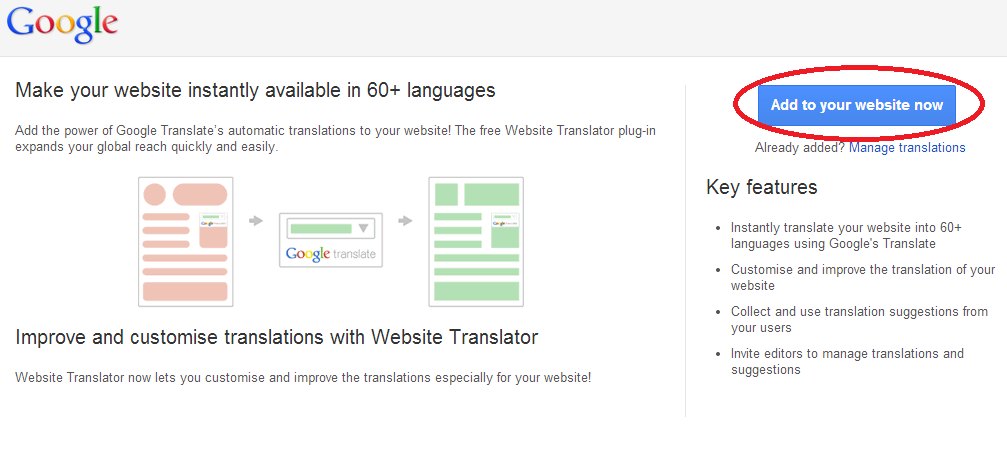
1. Follow this link to Google Translate then click “Add Your Website Now”.

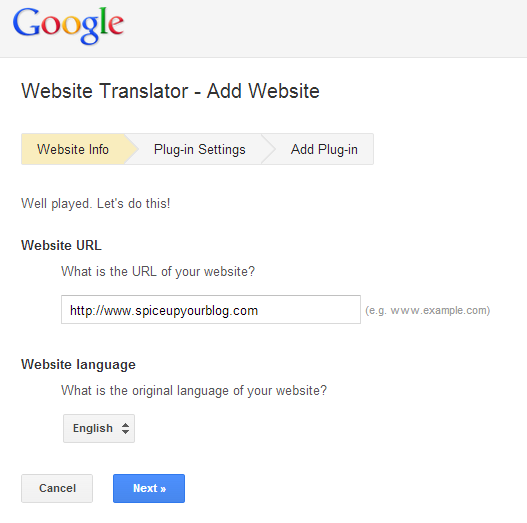
2. On the next page add the URL of your blog and the Original Language, the language you write your blog in.

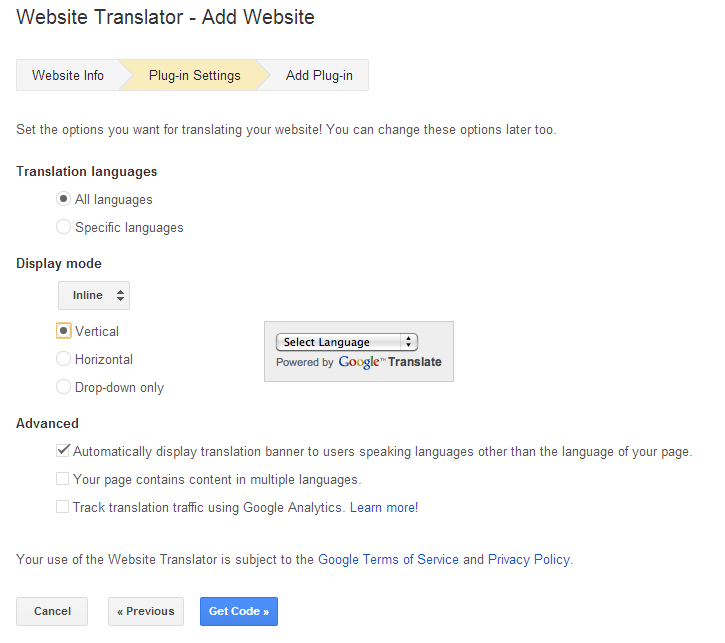
3. Finally before getting the code you have a few more options. You can make all languages available or choose which to provide. More importantly you can choose between three styles of Button to get the one that suits your blog. The advanced options even allow you to track how much the button is used via Google analytics.

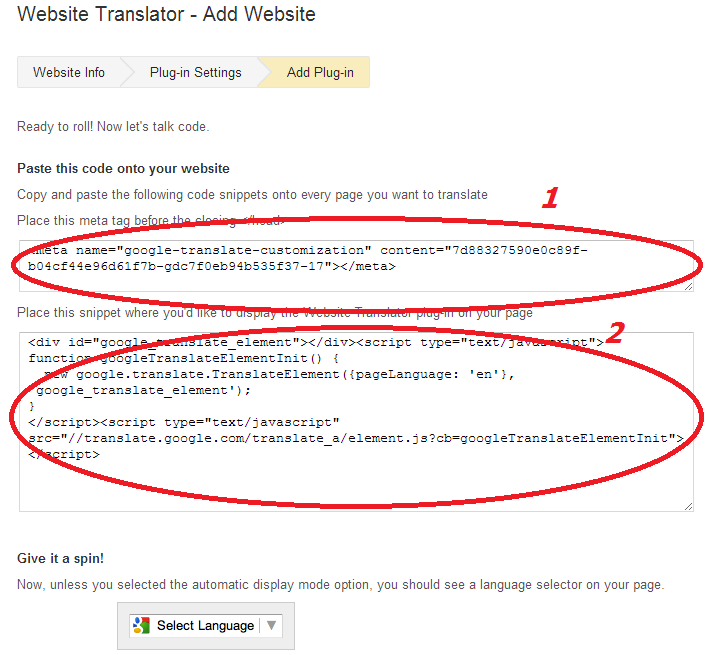
4. Now you can click “Get Code” and generate your button.
You will generate two snippets of code but in this tutorial we will focus on the second circled as “2” in the image below (The first snippet is only for tracking).

So copy the second piece of code then follow these steps to add the translate button to your Blogger Or WordPress blog :
Adding The Code To Blogger And WordPress
Add The Translate Button To WordPress Tutorial
1) In Your WordPress Dashboard Click ‘Appearance’ > ‘Widgets’ > Add A text Widget to your sidebar and paste in the translate button code as shown in the video below :
Add The Translate Button To Blogger Tutorial
Step 1. In The New Blogger Dashboard Click The Drop Down For Your Blog > Choose Layout > Click Add A Gadget > Choose HTML/Javascript > Paste In The Translate Code as shown in the video below :
That’s the new Google Translate button added to your blog so visitors from around the world can now read your blog.Remember I will be listing the best alternatives to the Google Translate button in an upcoming post.


